tutorial · 2026-11-19
How to Position Picture UI in RPG Maker MZ | PEB Editor
Learn how to visually position RPG Maker MZ UI pictures using the PEB Editor. Drag, align, snap, lock, layer and save custom menu layouts.
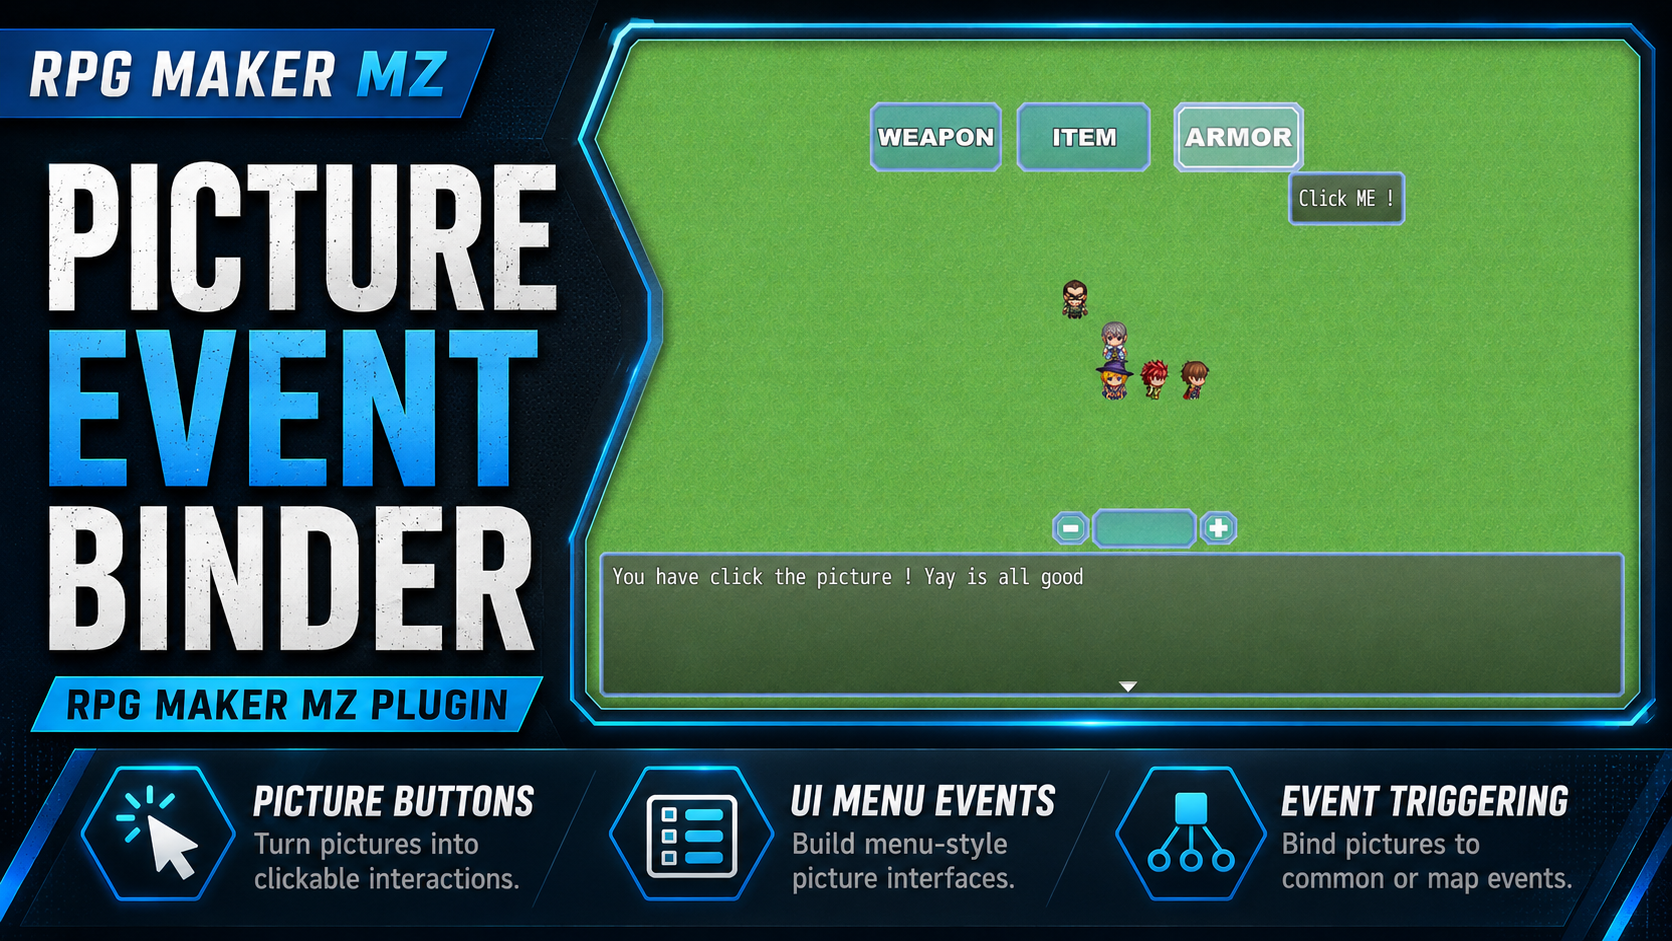
# How to Design and Position Custom UI Menus in RPG Maker MZ Using the PEB Editor
Designing a custom menu in RPG Maker MZ often involves repeatedly changing picture coordinates, running playtests, checking alignment, and returning to the event editor to make more adjustments.
What if you could simply drag your UI elements into position directly inside the game?
With the CT Picture Event Binder (PEB) Picture Placement Editor, you can visually arrange pictures, adjust their positions, control overlapping layers, and save custom UI layouts without manually calculating coordinates.
In this tutorial, we'll focus specifically on visual UI design and picture positioning—not the basic process of creating clickable buttons.
Whether you're designing a custom menu, inventory interface, HUD, or picture-based control panel, the PEB Editor can make your layout workflow much easier.
What Is the PEB Picture Placement Editor?
The PEB Editor is an in-game developer tool introduced in CT Picture Event Binder v1.3.
It allows developers to position pictures displayed through RPG Maker MZ's Show Picture command using a visual interface.
Instead of repeatedly modifying X and Y coordinates in event commands, you can move pictures with your mouse and make precise adjustments using keyboard controls.
Main Features
- Drag and drop pictures directly on screen.
- Fine-tune positions using arrow keys.
- Enable grid snapping for consistent alignment.
- Lock pictures to prevent accidental movement.
- Adjust picture stacking order.
- Reset selected pictures or the current layout.
- Hide the editor interface for a clearer preview.
- Save picture positions for individual maps.
Important: The PEB Editor controls picture placement and arrangement. Clickable button actions are configured separately using CT Picture Event Binder's Plugin Commands.
If you're new to picture buttons, start with our beginner guide:
How to Make Clickable Picture Buttons in RPG Maker MZ
Step 1 — Prepare Your UI Pictures
Before opening the editor, make sure your desired UI pictures are displayed inside your game.
For this example, imagine we're designing a custom RPG menu containing:
- A decorative menu background.
- A Start button.
- A Settings button.
- An Exit button.
Import your PNG images into:
`img/pictures/`
Next, display them through RPG Maker MZ's normal Show Picture event commands.
For example:
| Picture ID | UI Element |
|---|---|
| 10 | Menu Background |
| 11 | Start Button |
| 12 | Settings Button |
| 13 | Exit Button |
Give each picture an approximate starting position.
Don't spend too much time perfecting the coordinates. That's what we're going to use the PEB Editor for.
You don't need to configure clickable event bindings just to arrange these pictures visually.
Step 2 — Launch the PEB Editor
The PEB Editor is accessed through CT DevModeManager, Cynthia Tools' in-game developer dashboard.
Before continuing, make sure these plugins are installed and enabled in Plugin Manager:
- `[1]CT_DevModeManager.js`
- `[4]CT_PictureEventBinder.js`
Place CT DevModeManager above CT Picture Event Binder.
Both files are included in the CT Picture Event Binder v1.3.1.A package.
Opening the Editor
- Start your RPG Maker MZ project in playtest mode.
- Make sure the pictures you want to edit are visible.
- Open the CT DevModeManager dashboard using your configured activation key and developer access settings.
- Find CT Picture Binder: Drag Placement Editor.
- Launch the tool.
The PEB Editor will appear over your current game scene.
It detects the pictures currently displayed, allowing you to select and reposition them.
Step 3 — Arrange Pictures with Drag and Drop
Let's start by positioning our custom menu.
Click the menu background picture to select it.
Drag the picture toward the center of your screen.
Next, select your Start, Settings, and Exit buttons individually and move them into the desired arrangement.
For example, you could create a vertical layout:
START
SETTINGS
EXIT
Or arrange the same buttons horizontally across the bottom of the menu panel.
The editor updates their positions as you drag.
When a picture is selected, the editor also displays its Picture ID and current X/Y position.
This makes experimenting with different layouts much faster than repeatedly editing Show Picture coordinates.
Design Tip
For a vertical menu, try to maintain consistent spacing between buttons.
Avoid placing buttons too close to the edge of the screen, especially if your game uses different window sizes.
Step 4 — Fine-Tune Positions with Keyboard Controls
Dragging pictures is convenient, but precise alignment sometimes requires smaller movements.
The PEB Editor supports keyboard-based positioning.
With a picture selected:
- Arrow Up: Move upward.
- Arrow Down: Move downward.
- Arrow Left: Move left.
- Arrow Right: Move right.
- Shift + Arrow: Move in larger increments.
When grid snapping is disabled, normal arrow-key movement adjusts the position in one-pixel increments.
Holding Shift increases the movement step fivefold.
This is particularly useful when you're aligning several UI buttons and want their edges or centers to match.
Step 5 — Use Grid Snapping for Cleaner Layouts
The PEB Editor includes a built-in snapping system that makes consistent alignment easier.
Click the Snap button in the editor toolbar to cycle through the available snapping settings.
| Snap Setting | Behavior |
|---|---|
| OFF | Free positioning |
| 4 | Align to a 4-pixel grid |
| 8 | Align to an 8-pixel grid |
| 16 | Align to a 16-pixel grid |
When snapping is enabled, dragged pictures align to the selected grid spacing.
Arrow-key movement also uses the active grid increment.
Example: Aligning Three Buttons
Suppose you're arranging three buttons vertically.
- Enable Snap: 8.
- Position the Start button.
- Move the Settings button beneath it.
- Position the Exit button below Settings.
- Compare their spacing and alignment.
- Disable snapping if you need final pixel-level adjustments.
This approach is useful for inventory slots, action bars, skill panels, and other interfaces that benefit from consistent positioning.
Step 6 — Lock Pictures to Prevent Accidental Movement
Once your menu background is positioned correctly, you probably don't want to accidentally drag it while working on the buttons.
That's where the Lock feature comes in.
Select the picture you want to protect and click Lock.
The selected picture becomes locked against dragging and keyboard movement.
To edit it again, select it and click Unlock.
When Should You Lock Pictures?
Consider locking elements such as:
- Menu backgrounds.
- Decorative borders.
- Fixed HUD elements.
- Interface headers.
- Pictures you've already positioned correctly.
You can continue adjusting your remaining unlocked pictures without accidentally changing completed parts of your layout.
Step 7 — Control Picture Layering with Z-Order
Sometimes pictures overlap.
For example, a decorative menu panel might cover a button, or a foreground decoration might need to appear above another UI element.
The PEB Editor includes stacking-order controls:
Send Back
Moves the selected picture backward in the picture stacking order.
Bring Front
Moves the selected picture forward in the stacking order.
You can use these controls repeatedly to adjust which pictures appear in front of others.
Practical Example
Imagine your custom menu has:
- A background panel.
- Three interactive buttons.
- A decorative frame.
You generally want the background behind the buttons, while the frame may overlap their edges for visual effect.
Use the stacking controls to arrange these elements until the interface looks correct.
Tip: Always playtest your final layout to ensure overlapping decorations don't interfere with the intended picture interactions.
Step 8 — Preview Your Layout Without the Full Editor Interface
The PEB Editor includes a Hide UI option.
When you activate it, the full editor interface is hidden, leaving a smaller toolbar.
This allows you to inspect your picture arrangement with fewer editor elements covering the screen.
It's particularly useful when working on:
- Full-screen custom menus.
- Decorative HUD layouts.
- Interfaces near screen edges.
- Large picture-based panels.
The compact toolbar still provides access to essential actions, including saving and returning to the editor controls.
Use Show UI to restore the full interface.
Step 9 — Reset Pictures When Experimenting
Sometimes a layout experiment doesn't work out.
Rather than manually dragging everything back into place, the editor provides two reset options.
Reset Sel
Restores the selected picture to its current baseline position.
Reset All
Restores all unlocked pictures to their baseline positions.
The baseline is established when the editor opens and updated after a successful save.
These controls are useful when experimenting with multiple arrangements.
Remember that locked pictures are protected from the Reset All operation.
Step 10 — Save Your Custom UI Layout
After arranging your pictures, click Save.
The editor records the picture positions and stacking information for the current map.
The saved layout is stored in:
`data/CTPictureEventBinderPlacement.json`
The editor displays a confirmation showing how many pictures were saved and the current Map ID when the project-file save succeeds.
How Saved Positions Work
When you use Show Picture again, CT Picture Event Binder checks whether a saved position exists for that map and Picture ID.
If a matching placement entry exists, the plugin applies the saved X and Y coordinates.
This means you can keep your original Show Picture event commands while allowing the saved editor layout to determine the final placement.
Important: Writing the placement JSON file requires a local NW.js desktop playtest. Browser-only environments cannot directly save changes to your project files.
Step 11 — Create Different Layouts on Different Maps
One particularly useful feature of the PEB Editor is its map-specific placement system.
The same Picture ID can have different saved positions depending on the map where it appears.
Example
Imagine your RPG has two maps.
Map 1 — Town
You want your interface buttons displayed along the bottom of the screen.
Map 2 — Dungeon
You prefer the same buttons arranged vertically along the right side.
Using the PEB Editor, you can arrange and save each map's layout separately.
The saved placement system distinguishes them using the map and Picture ID.
This can be useful for projects that require different UI arrangements across areas, such as towns, dungeons, special maps, or scripted interface scenes.
Step 12 — Test and Prepare Your Layout for Release
After saving your layout:
- Close the PEB Editor.
- Run your game normally.
- Display your menu pictures again.
- Confirm that they appear in their saved positions.
- Test any clickable buttons or event bindings.
- Check that picture layering looks correct.
If everything works as expected, your visual layout is ready.
When deploying your finished game, include the saved placement file:
`data/CTPictureEventBinderPlacement.json`
This ensures your saved project layout is available in the deployed game.
PEB Editor Controls — Quick Reference
| Control | Function |
|---|---|
| Mouse Drag | Move selected picture |
| Arrow Keys | Fine position adjustment |
| Shift + Arrow | Faster position adjustment |
| Snap | Cycle OFF, 4, 8, 16 |
| Lock / Unlock | Prevent or allow movement |
| Send Back | Move backward in stacking order |
| Bring Front | Move forward in stacking order |
| Reset Sel | Restore selected picture position |
| Reset All | Restore unlocked picture positions |
| Hide UI | Show compact editor toolbar |
| Save | Save the current map layout |
| Return (R) | Return to DevModeManager |
| Close | Exit the placement editor |
Troubleshooting the PEB Editor
I Can't Select or Drag a Picture
Make sure the picture is currently displayed using Show Picture.
Check whether it has been locked in the editor.
If the picture is hidden beneath another image, you may need to adjust the overlapping pictures before selecting it.
My Pictures Don't Stay in Position After Restarting
Check that the editor successfully saved the layout.
Confirm the following file exists in your project:
`data/CTPictureEventBinderPlacement.json`
Use the local desktop playtest environment when saving placement changes.
The Same Picture Appears in Different Positions on Different Maps
This is expected behavior.
The PEB Editor stores positions per map, so the same Picture ID can use different coordinates on different maps.
My Pictures Are Aligned Incorrectly
Try adjusting the Snap setting.
Use a larger grid size for consistent positioning, then switch snapping off for final fine-tuning.
Reset All Didn't Move Every Picture
Check whether some pictures are locked.
The reset operation leaves locked pictures unchanged.
Frequently Asked Questions
Can I position pictures without repeatedly editing X and Y coordinates?
Yes. The PEB Editor lets you drag pictures directly inside the game and save their positions.
Does the editor support grid snapping?
Yes. The available snap settings are Off, 4, 8, and 16 pixels.
Can I lock my UI background while adjusting buttons?
Yes. Select the background picture and use Lock to prevent accidental movement.
Can I change which pictures appear in front?
Yes. Use Send Back and Bring Front to adjust stacking order.
Does the editor create clickable buttons automatically?
No. The PEB Editor is a visual placement tool. CT Picture Event Binder's separate binding commands handle clickable picture functionality.
Are saved layouts available in released games?
Yes. Include the project's saved placement JSON file when deploying your game.
Final Thoughts
Creating a good-looking interface requires more than simply displaying images.
Proper spacing, alignment, layering, and positioning all contribute to a polished player experience.
The CT Picture Event Binder Picture Placement Editor simplifies this process by giving RPG Maker MZ developers a visual way to organize UI pictures directly inside the game.
Instead of repeatedly modifying event coordinates, you can drag, fine-tune, lock, layer, preview, and save your designs.
Whether you're designing a custom RPG menu, inventory interface, HUD, or picture-based control panel, the PEB Editor makes visual layout work more manageable.
Get CT Picture Event Binder
Ready to simplify your RPG Maker MZ UI development workflow?
Download CT Picture Event Binder
Related Tutorial
New to clickable pictures? Learn how to connect images to Common Events, Map Events, and Troop Event Pages:
How to Make Clickable Picture Buttons in RPG Maker MZ
Cynthia Tools — Useful tools. More time to create.
Explore the tools
RPG Maker MZ. Normal setup uses Show Picture plus Plugin Commands and does not require JavaScript. The PEB Editor is op…
RPG Maker MZ Plugin: CT Picture Event Binder – Clickable Picture Buttons & Event Triggers
Turn RPG Maker MZ Show Picture images into clickable UI buttons for Common Events, Map Events, or Troop Event Pages with tooltips, effects, states, sounds, and visual placement.